Showing posts with label Tutorial.. Show all posts

Tuesday, 12 February 2013

Triangle Nail Art.


Now I'm not known for my nail art prowess, usually just waiting for the polish to dry is enough effort for my liking. But occasionally I do like to get a bit snazzy with the odd triangle or two. I'm a nail art trigonometry trail blazer... 

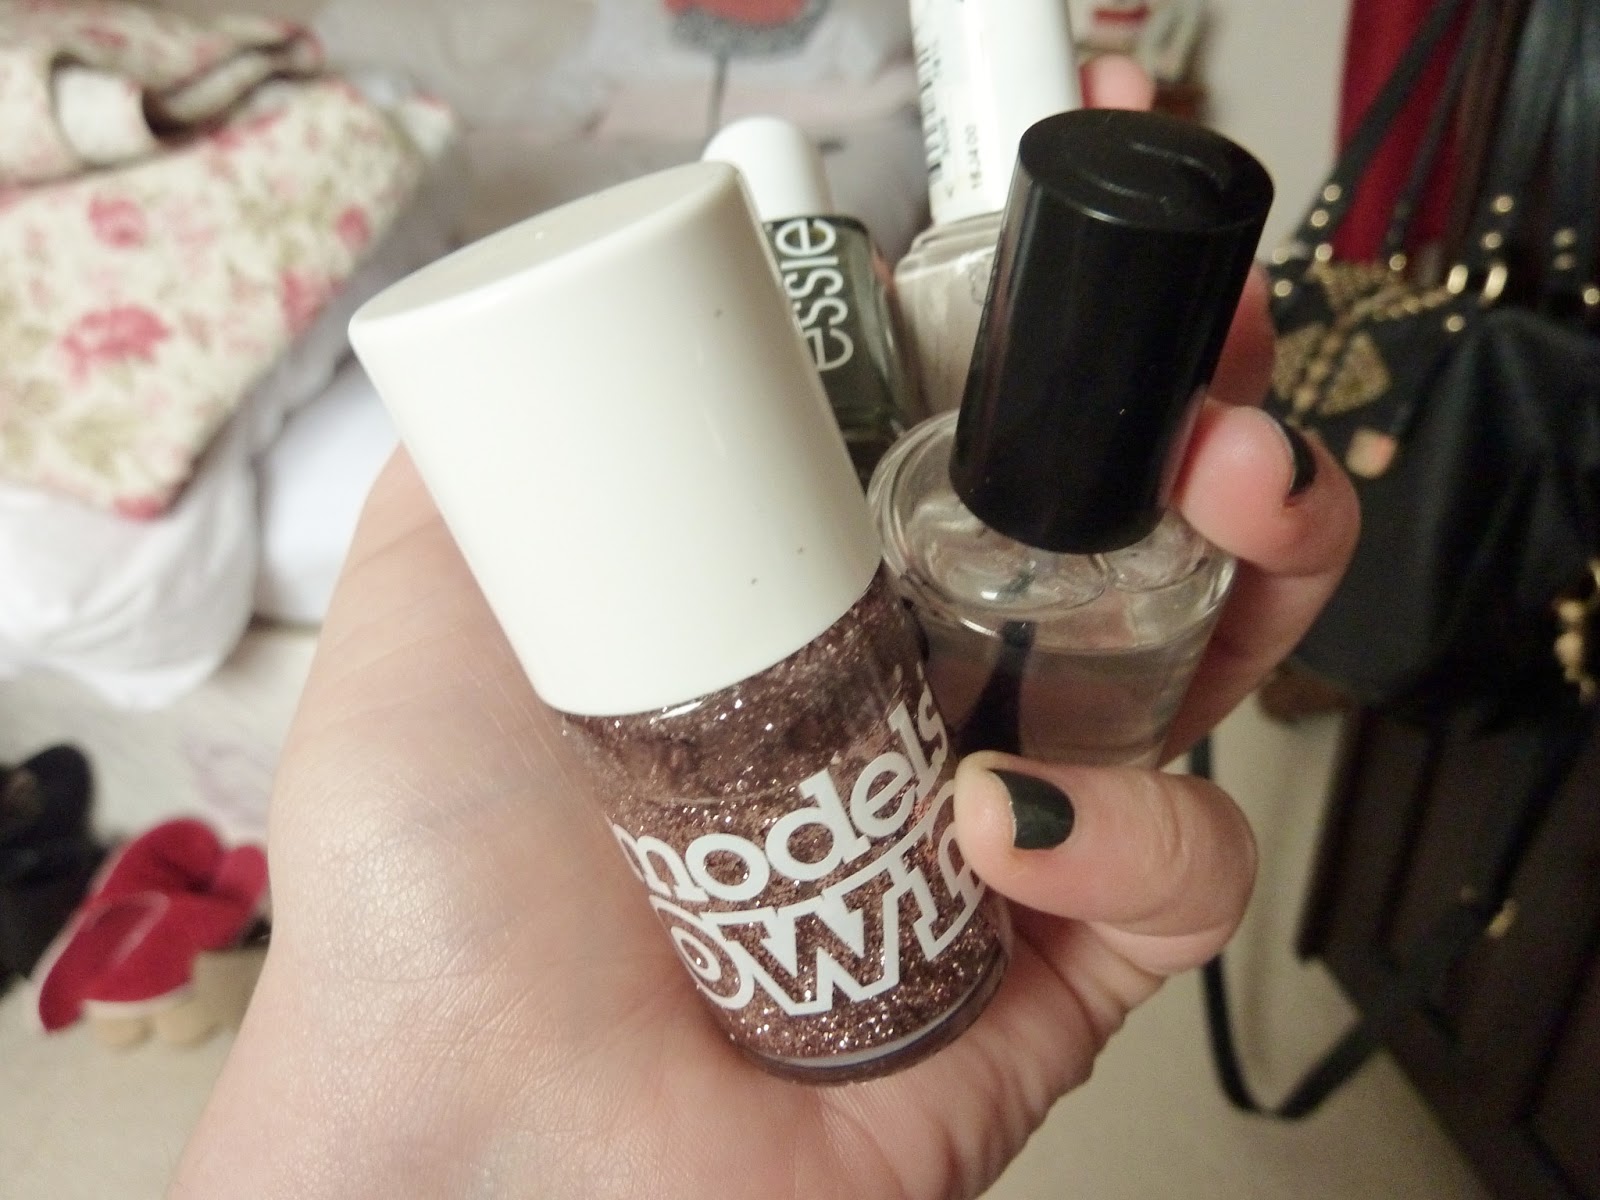
All you need is a base colour - I went with Essie Sew Psyched - a contrasting colour - Essie Sand Tropez lent itself well to this task, and If you want to get a bit fancy (who doesn't) throw in some glitter for good measure, Models Own Pink Fizz works well against the grey tones. To create the shape, grab a roll of Sellotape and some scissors. Finish with a good top coat, I use Seche Vite

Step 1: Slap on a coat or two (depending on how opaque your base colour is) and go about your business until they're completely dry. 

Step 2: This is the semi tricky bit. Take some Sellotape and map out the triangle you want. You can do whatever you want. I just opted for an even shape but you can do stripes, half of the nail, slightly off to the left or right. Whatever you want! 


Step 3: Paint your contrasting colour over the area not covered by the tape. Leave it to dry fully then whip the Sellotape off. You should be left with a fairly presentable triangle shape! 


Step 4: When you're confident your accent triangles have dried. Pop a good coat of topcoat over the top to seal it all in. Voila, le nail art trés facile!


You really can do any combination, any colour, any shape. The results far outweigh the effort and you'll probably get asked how you created it. It's up to you whether you want to let the secret slip or not! 

Here's another version I did a while ago.


xx

Wednesday, 21 March 2012

Re-Create the Look: Lan Nguyen for the Body Shop.


Now, call me silly, but I have never associated The Body Shop with the high octane world of the catwalk show. However, when I was asked to re-create the look Lan Nguyen did here for the Vauxhall Fashion Scout show recently. I was too intrigued to say no. 

So, complete with everything I could need. I decided to try and do it justice....

Firstly, what was I working with? 

I found most of the product agreeable, in some cases they appeared to lack the fierce pigmentation I expected, but they were super easy to work with. The one product I wasn't sold on was the Concealer Pencil, but simply because this is far too dark for me, even in summer.

(top-bottom)
06 Eye Definer French Navy
05 Eye Definer White
05 Concealer Pencil
Liquid Eyeliner

Shimmer Cubes Palette 20.
(L-R) 
03 Starlight Silver
01 Indigo Blue
04 Midnight Black
03 Snow White

As I embarked on trying to recreate the look, I remember exactly why I don't like to do this sort of thing...oh the pressure! 

BEFORE


AFTER


I was really impressed how simple, but dramatic this look was. Lan really mastered the quick, but beautiful look with ease. She describes it as a '60's Smokey Eye with a modern, feline twist. I couldn't agree more. 

The two stars of the show for me were the liquid eyeliner, that literally took seconds to apply and perfect, and I may have just found a new best friend in the slanted brush. It made applying accurate eyeshadow so easy I don't think I've ever managed to get such a sharp line on my lower lash line. Finally, the white eyeliner in the water line really hammered the 60's vibe home. 

Of course a pair of falsies would really finish off the look, but, c'est la vie! 

The thing I like most about this particular look is I would have never, ever gone for it, but I think it looks pretty snazzy...dare I say, groovy...? No? Ok.


What I was trying to achieve...

How did I do?! 

Laura xx

(All products provided for the look, but as always, treated without influence, compensation or promise)


Related Posts Plugin for WordPress, Blogger...